User journey
Understanding the user journey with Volt Mobile SDK
The Volt Mobile SDK has two main components, a bank search with a welcome screen, and a payment summary container.
The bank search with welcome screen first educates the shopper about the next steps, then allows them to search for the bank they want to pay with and returns this bank as a bankId.
The payment summary container requires a bankId to be shown and is responsible for handling the redirect to the shopper's bank. While first-time shoppers will always have to select their bank, returning users can be identified via the /linked-accounts endpoint and the id of the bank can be passed directly to the payment summary.
First steps
When a shopper wants to pay in your app, the first thing you should do is call the /linked-accounts endpoint, to check to see whether the shopper has a previously-used bank. If this is a first-time shopper, then there will be no bank details returned. For a returning shopper, you'll receive the details of the previously-used bank.
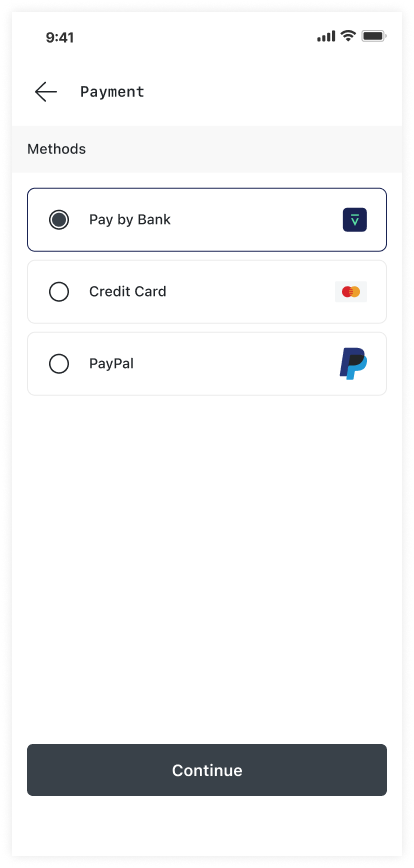
First-time shopper Your available payment methods are displayed including Volt's Pay by Bank option
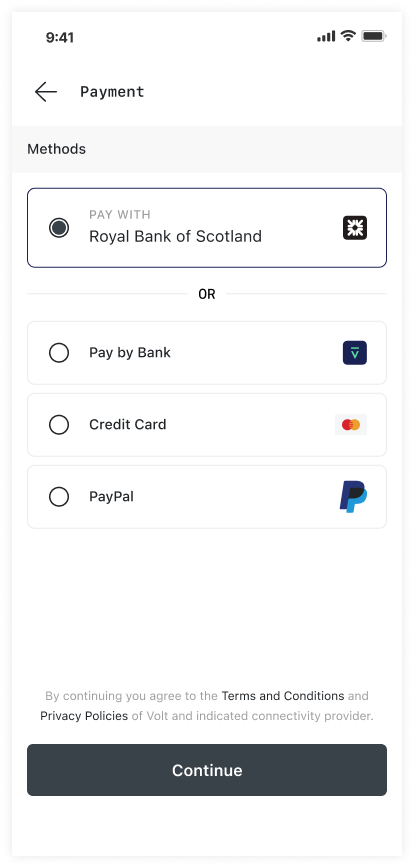
Returning shopper Your available payment methods are displayed including Volt's Pay by Bank option. You can also include a quick link to pay using their previously-used bank.
If this is a first-time shopper, or for a returning user who wants to use a different bank, the user journey will invoke the bank selection process:
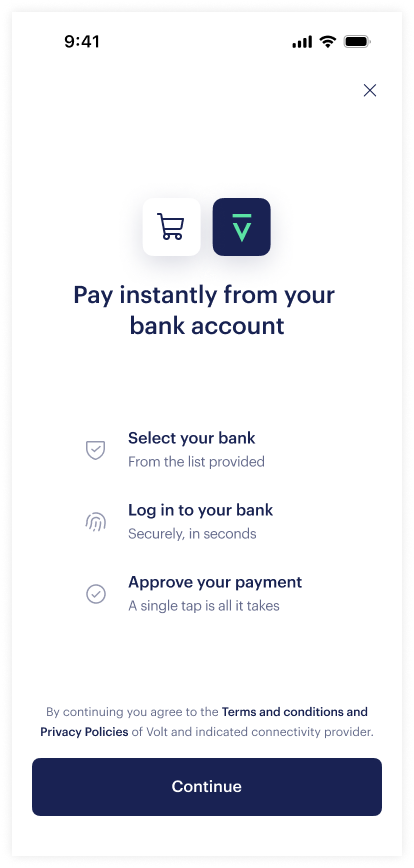
The welcome screen is shown
- The shopper clicks Continue
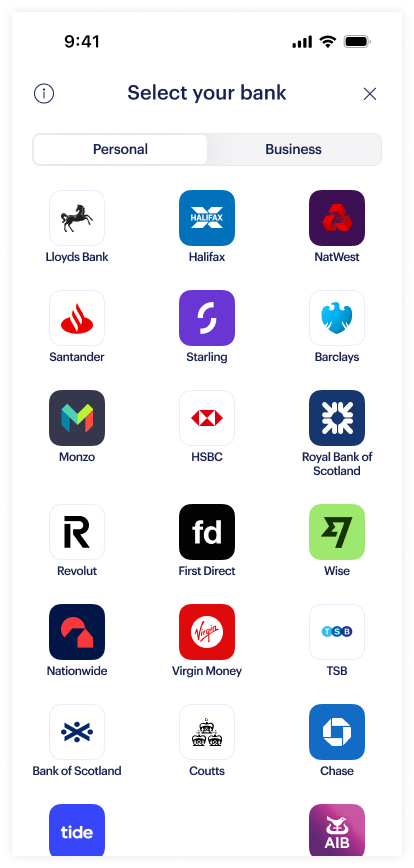
Bank selection via the SDK
- The bank list is displayed to the shopper
- The shopper selects their bank
- The shopper is returned back to your app with their selected bank
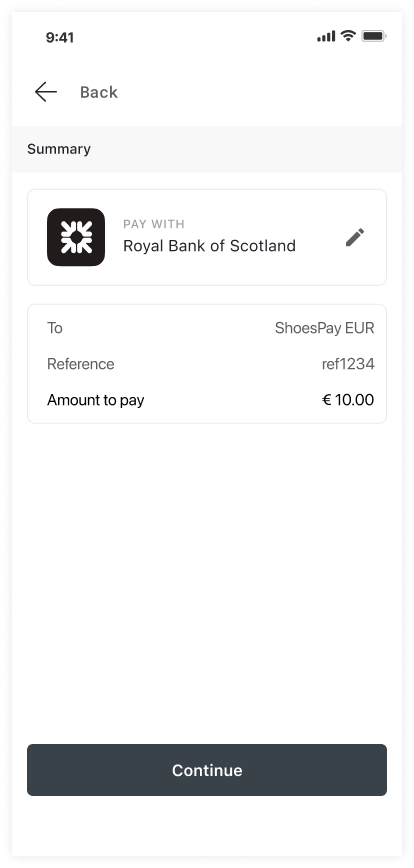
Create a payment request and display a summary
- A payment with a bank is requested through the SDK
- A payment summary sheet is displayed
- The shopper can still change their selected bank at this point
- The shopper clicks on the payment button to continue
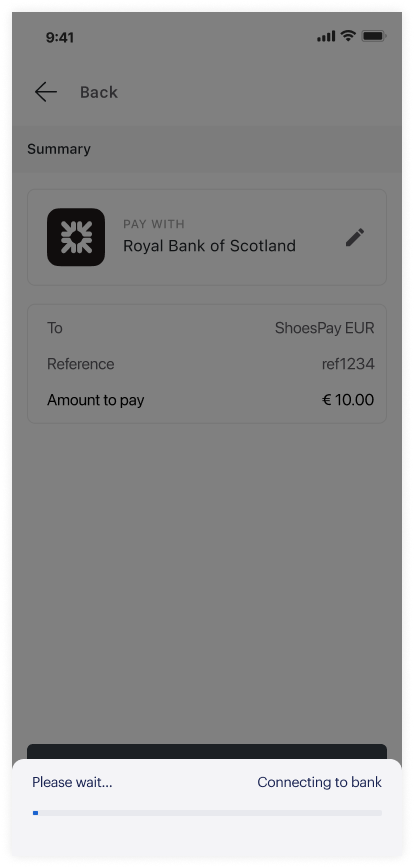
Redirection to the bank
- The SDK fetches a payment redirect URL
- The SDK redirects the shopper to authenticate with their bank
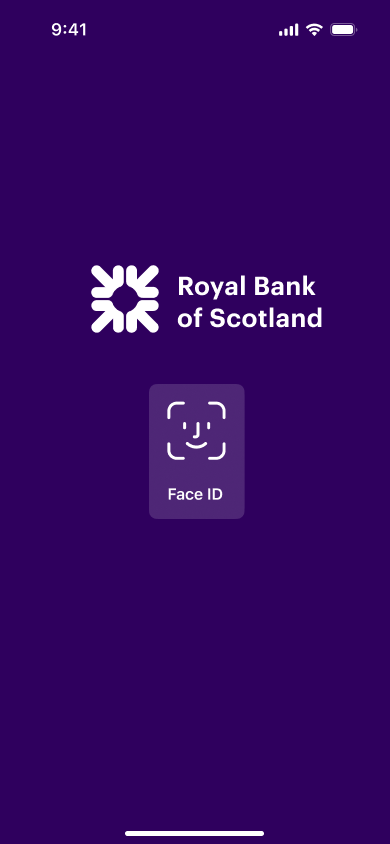
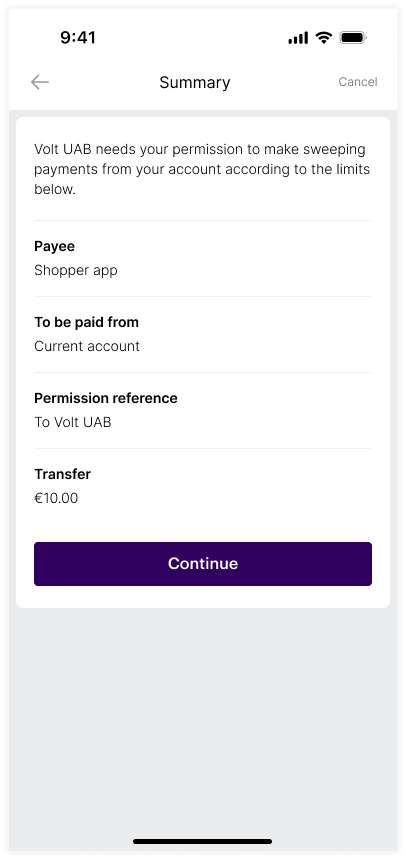
At the shopper's bank
- The shopper authenticates
- The shopper confirms the payment
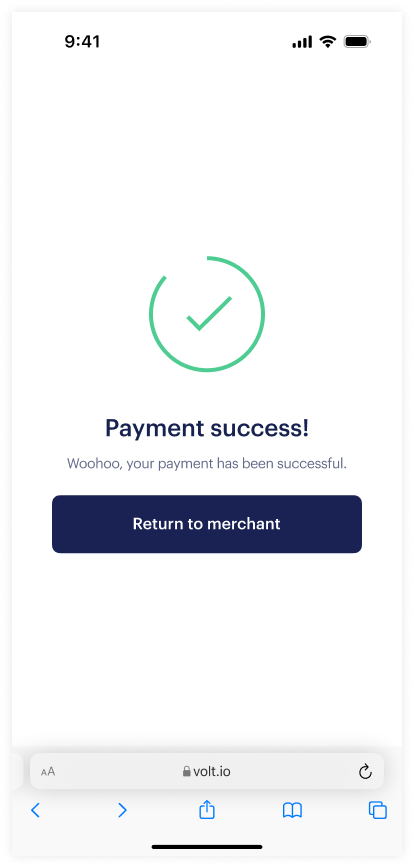
Checkout is complete
- The shopper is redirected to the hosted checkout status page (success, failed, error, cancelled).
- After a successful payment, the shopper's bank selection is saved and can be returned from
/linked-accountsendpoint. - The shopper is returned to your app
If this is a returning shopper, the shopper can skip the bank selection process and go straight to the payment summary. They always have the option to change their bank at this point.
Create the payment request and display a summary
- A payment with a bank is requested through the SDK
- A payment summary sheet is displayed
- The shopper can change their saved bank at this point
- The shopper clicks on the payment button to continue
Redirection to the bank
- The SDK fetches a payment redirect URL
- The SDK redirects the shopper to authenticate with their bank
At the shopper's bank
- The shopper authenticates
- The shopper confirms the payment
Checkout is complete
- The shopper is redirected to the hosted checkout status page (success, failed, error, cancelled).
- After a successful payment, the shopper's bank selection is saved and can be returned from
/linked-accountsendpoint. - The shopper is returned to your app
How is this guide?
Last updated on