Shopify
Install and configure the Volt Shopify plugin (Instant Bank Transfer).
You can find the Volt plugin in the Shopify app store. The plugin enables seamless instant bank transfers in your online store. Setup requires a few simple steps documented below.
You will need access to Fuzebox, Volt's admin portal, to enable your Shopify plugin. Please contact us to set up your Volt account.
Compatibility
The Volt: Instant Bank Transfer plugin is compatible with standard Shopify as well as the Checkout Extensibility version. The plugin is automatically applied globally to all shops operated from one setup when configured. Currently, we only support the primary currency set up on Shopify Markets.
If you have more questions about the setup contact our team at support@volt.io.
Install the plugin
Use this link to access the Volt app in the Shopify app store
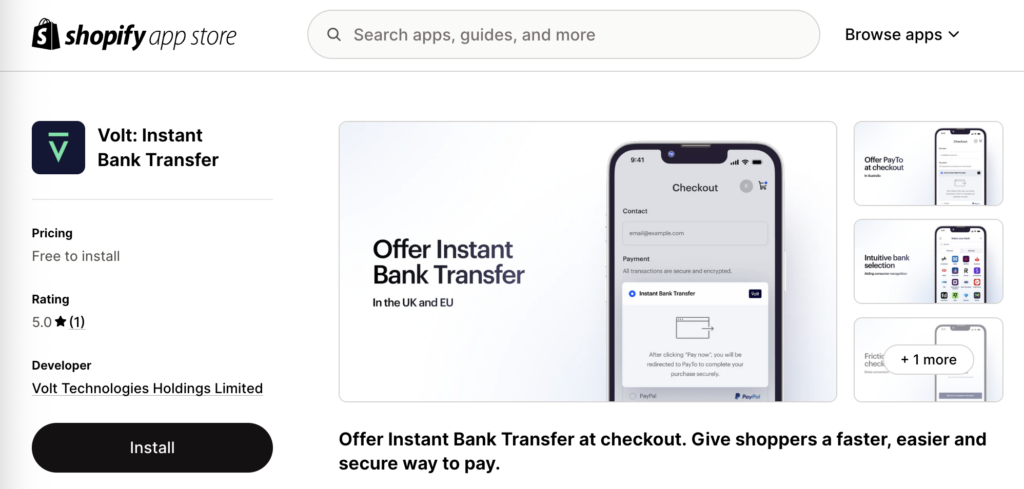
Click the Install button and follow the prompts to install the app
You will be redirected to the configuration screen below
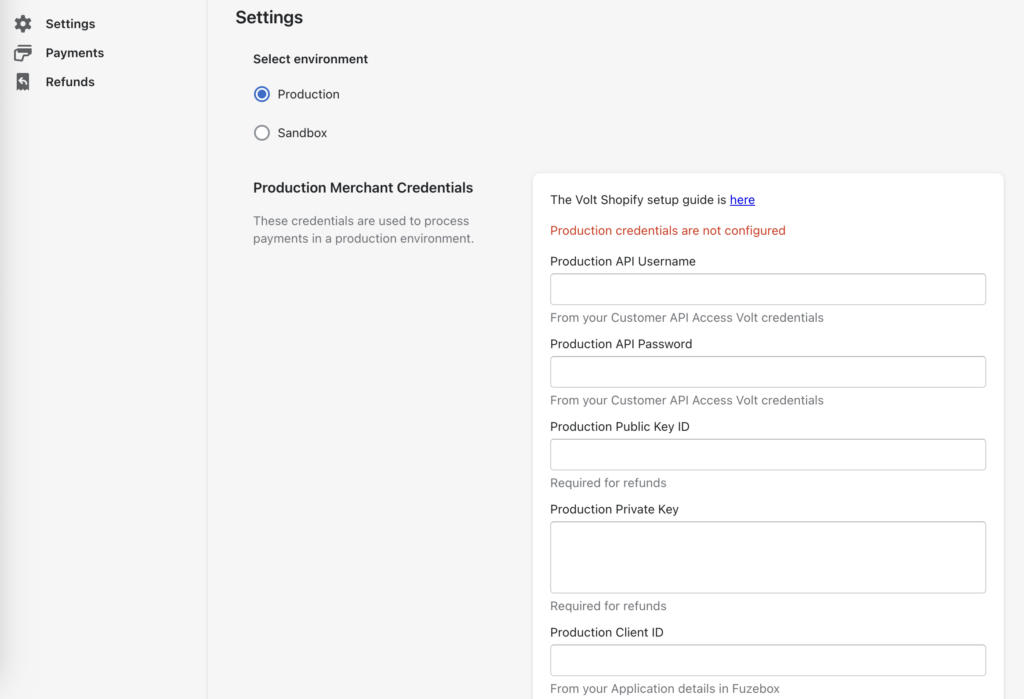
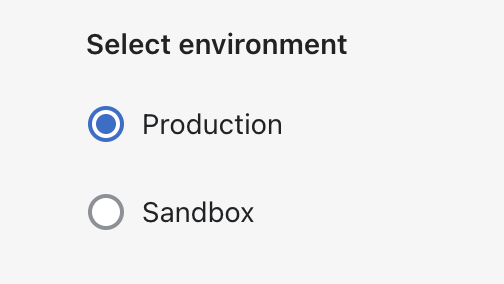
Choose your environment
You need to select an environment to configure. You can only configure one environment at a time: Sandbox (for testing) or Production (for live payments). The configuration steps are the same for both environments.
You can select the environment using the radio button in Shopify and the toggle top right in Fuzebox.

Check environment
Ensure that you are configuring the same environment in Fuzebox and on Shopify. If you configure production in Shopify with sandbox Fuzebox credentials, you will not be able to receive live payments.
Generate access credentials
To start using Volt payments, you need to connect your Shopify plugin to your Volt account, and you do this through access credentials which you set up in Fuzebox. The Volt team will invite you to Fuzebox when they create your account.
Generate your API username and password
(NOT your username and password for Fuzebox)
Login to Fuzebox
Ensure that the environment is correctly toggled to either sandbox or production, to match your selection in Shopify
Generate your customer credentials. To do this, navigate to Configuration > Customers > (select your customer record) > API Access tab, and under the "Volt Credentials" section click [ Generate credentials ]
Copy your Username and paste it into the API Username field in Shopify
Copy your Password and paste it into the API Password field in Shopify
Once your credentials are copied safely into Shopify, close the box displaying them in Fuzebox. Note you will need to tick the box acknowledging that your password will never be revealed again. (You can always generate new credentials if needed.)
Generate your Signature Keys (optional)
This is only required if you wish to process instant refunds directly within Shopify. If you do not need to refund your Volt payments, you can skip this section – or you can do it later.
Still under the Fuzebox Customer API Access tab, under the "Signature Keys" section click the button [ New key ]
Select the option to "Generate a key pair" and click the button to [ Generate ]
Copy your Public key ID from Fuzebox and paste it into the Public Key ID field in Shopify
Copy your Private key from Fuzebox and paste it into the Private Key field in Shopify
Generate your Client ID and Client Secret
You will need to register an application. To do this, navigate to Configuration > Applications
If you don't already have an application, click the button to create a [ New application ]
Give your application a name and set the "Payment return URLs" to your website URL; these URLs are mandatory for Volt but they are not used in the Shopify plugin. When done, click the button to [ Add a new application ]
The application is created and on the details page you will note your Client ID and Client Secret
Copy your Client ID from Fuzebox and paste it into the Client ID field in Shopify
Copy your Client Secret from Fuzebox and paste it into the Client Secret field in Shopify
Set up notifications
In your application from the previous step, click the tab Payment notifications at the top, and the button to [ Configure ] your notifications
Copy the Notifications Webhook URL from Shopify (at the bottom of the Volt config page) into the Webhook URL in Fuzebox
Enter an email in the Failing notifications alert email field in Fuzebox; if Volt is unable to update Shopify with the payment status, this email address will be notified as a backup
Click [ Save ]
Your configured notifications are displayed, including a Notification secret. Copy the Notification secret from Fuzebox and paste it into the Notification Secret field in Shopify
Please note that you should copy all credentials from Fuzebox immediately. The credentials will be encrypted once you close the window. If you lose your credentials, please regenerate them in Fuzebox.
Enable
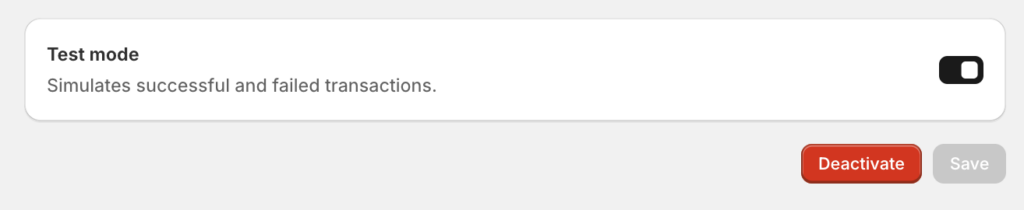
Press the [ Save ] button.
After saving the configuration check if the "Test mode" is on in the Shopify settings screen. Turn it on to test Sandbox transactions. Turn it off to start processing live traffic.
Status mapping
The mapping of Volt payment statuses to Shopify order statuses is pre-configured for you:
| Volt payment status | Shopify order state |
|---|---|
RECEIVED | Paid |
COMPLETED | Payment pending |
FAILED | Rejected |
CANCELLED | Rejected |
For more information on Volt payment statuses and notifications refer to Payment status flow and Notifications.
Additional settings
Shopper names
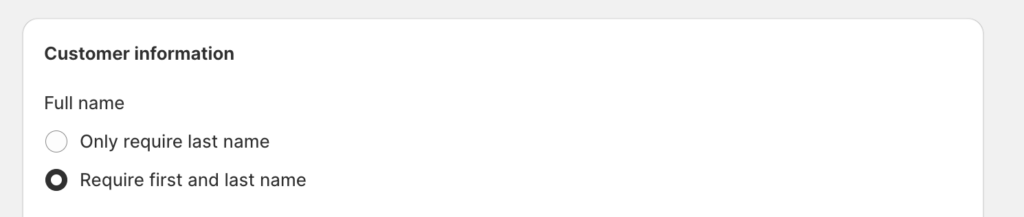
Volt is obligated to collect the first and last name of the shopper. If they are not provided, the payments will fail. To check if your store collects this information go to the Checkout section of Settings in the Shopify portal and make sure that the "Require first and last name" toggle in the "Customer Information" section is on.
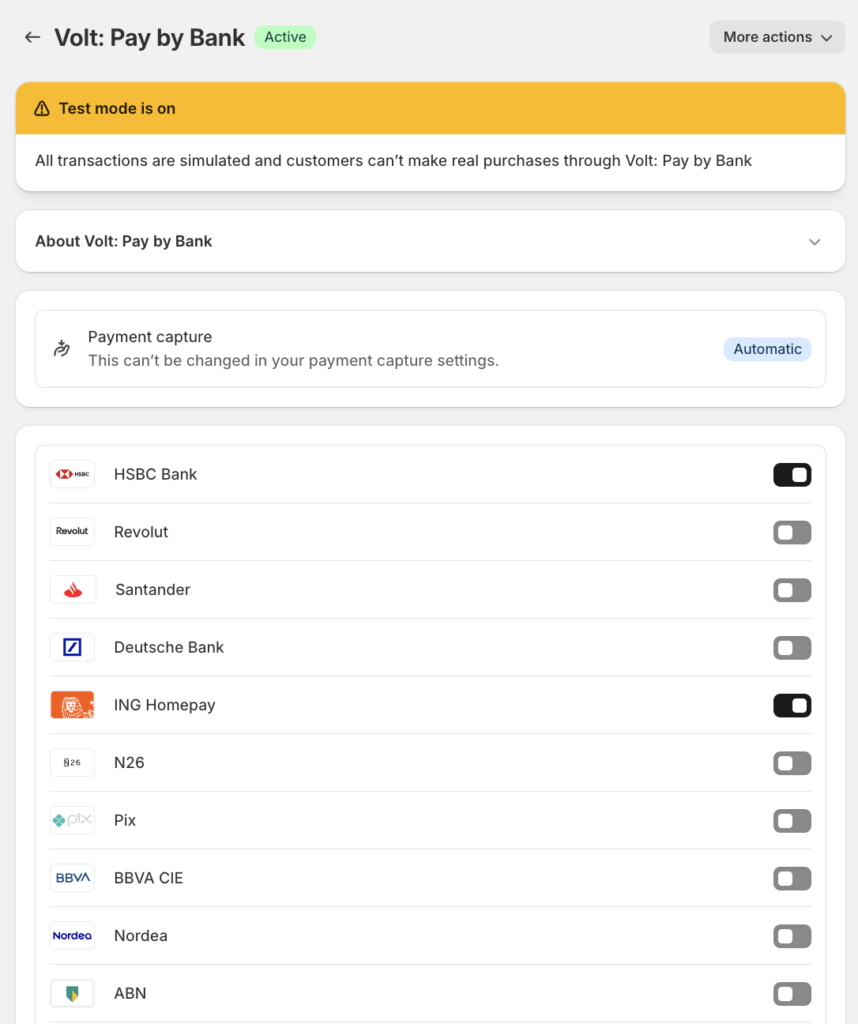
Bank logos
You can select which bank logos will be visible to your customers on the Shopify checkout as a visual prompt. This does not influence which banks will be enabled to pay with. The setting can be found on the Shopify Merchant Portal in Settings > Payments > Volt: Instant Bank Transfer. You can select from a list of 22 logos (including the Volt logo). Please note that only 4 logos can be visible at the same time.
Based on the logos you have selected, the pay view will look like this:

Australia
For Australia, we recommend enabling only the "PayTo" logo, and disabling all others. This is to match the general industry practice in Australia of identifying the payment method rather than individual banks.
Logos can be configured in the Shopify Merchant Portal in Settings > Payments > Volt: Instant Bank Transfer.
![]()
How is this guide?
Last updated on