Shopware
Install and configure the Volt Shopware plugin (Pay by Bank).
You can install Volt: Pay by Bank from the extension marketplace. Volt is compatible with Shopware v5 and v6. Follow the steps below to configure the Volt Embedded Checkout in your store.
Compatibility
| Plugin version | Supported Shopware versions |
|---|---|
| Shopware 5 | 5.7.14 – 5.7.19 |
| Shopware 6 | 6.5.0.0, 6.5.1.0 – 6.5.1.1, 6.5.2.0 – 6.5.2.1, 6.5.3.0 – 6.5.3.3, 6.5.4.0 – 6.5.4.1, 6.5.5.0 – 6.5.5.2, 6.5.6.0 – 6.5.6.1, 6.5.7.0 – 6.5.7.4 |
Download and install the plugin
Use one of the links above to access Volt Pay by Bank Shopware extension 5 or 6.
Add the plugin under Extensions > My Extensions
Choose the environment
You need to select which environment you will configure. Please note that you can only have one environment: Sandbox (for testing) or Production (for live traffic) configured at a time. The configuration steps for both environments are the same.
The difference is the checkbox on Shopware (or "Yes"/"No" field depending on your Shopware store version) and the toggle in the top right corner in Fuzebox.
Shopware

Fuzebox

Correct Environment
Always make sure you are configuring in the same environment in Fuzebox and on Shopware.
Generate access credentials
To start using Volt payments, you first need to get a set of access credentials. These consist of your Volt customer credentials and application credentials. You will be able to generate them via the Volt merchant portal (Fuzebox). Volt team will enable your access to the portal by creating an account for you.
Generate the API username and password
(NOT your username and password for Fuzebox)
Login to Fuzebox.
Generate Customer Credentials. You can find the Credentials section in the Configuration > Customers tab in Fuzebox.
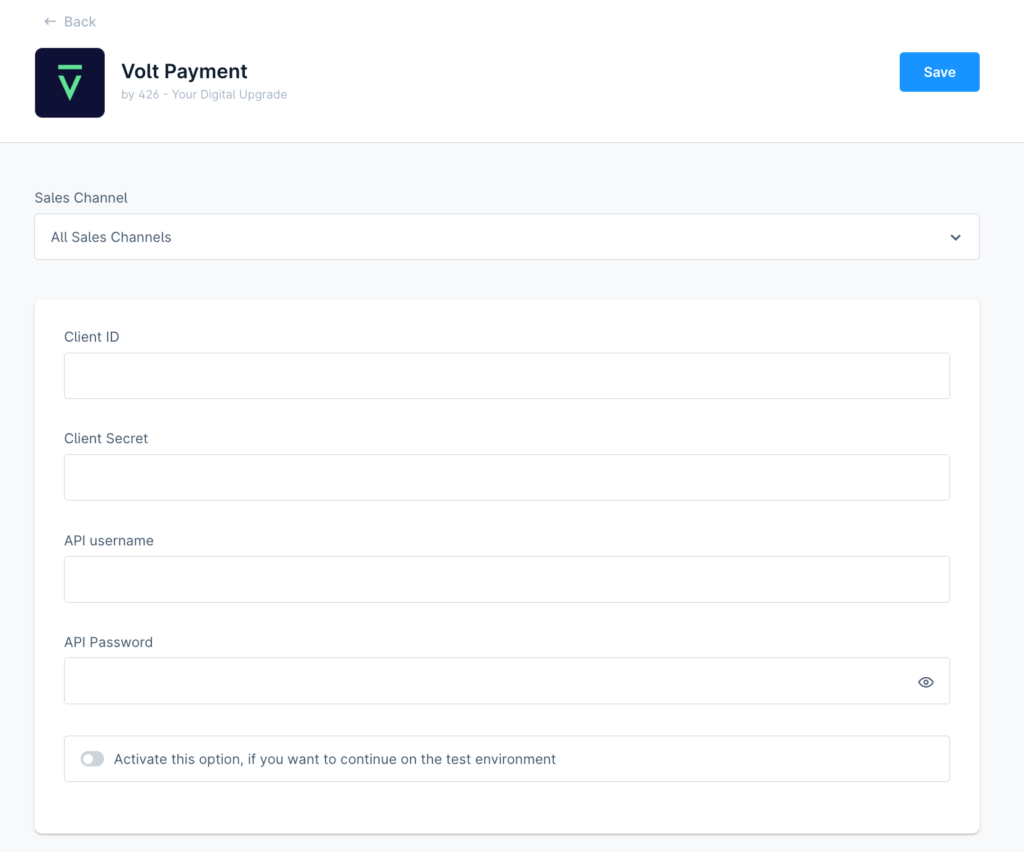
Copy your Customer Username and paste it into the API Username field on Shopware.
Copy your Password safely and paste it into the API Password field on Shopware.
Generate the Client ID and Client Secret
In Fuzebox register an application to receive your Client ID and Client Secret. During this step, set the return url (payment return urls) using the following format: {domain}/webhook URL.
Copy your Client ID from Fuzebox and paste it into the Client ID field on Shopware.
Copy your Client Secret from Fuzebox and paste it into the Client Secret field on Shopware.
Setup notifications
Go back to Fuzebox and access the Payment Notifications section in Configuration > Applications > (your application) tab in Fuzebox.
Configure the settings as explained in the notifications guide. The webhook URL should be set to:
- Shopware 5:
https://{your-domain}/VoltCheckout/notify - Shopware 6:
https://{your-domain}/voltPayment/notify
Status mapping
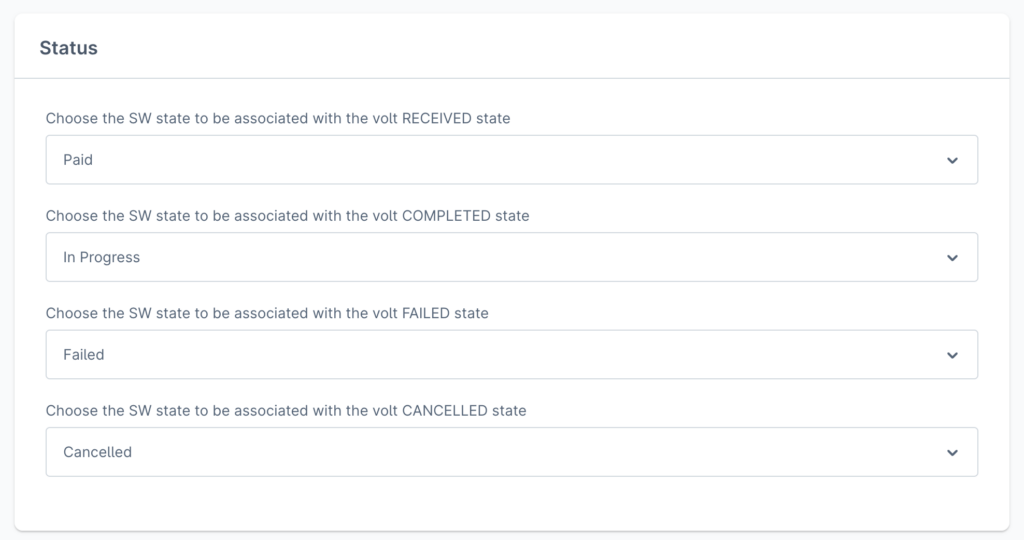
On Shopware 6 you can adjust the mapping of Volt payment statuses to your shop's order statuses:
| Setting | Description | Default |
|---|---|---|
| Status for RECEIVED state | Status to set after funds are received in your Volt account | Paid |
| Status for COMPLETED state | Status to set after payment has been initiated and accepted by the customer's bank. This does not guarantee receipt of funds as they are pending. | In Progress |
| Status for FAILED state | Status to set after the payment failed (any of the Volt FAILED statuses) | — |
| Status for CANCELLED state | Status to set after the shopper cancelled the transaction on the Volt screens | — |
Shopware 5 plugin will automatically apply the default values.
For more information on Volt payment statuses and notifications refer to Payment status flow and Notifications.
Enable
Press the Save button.
After saving the configuration check if the extension is active in the My extensions section.

Additional settings
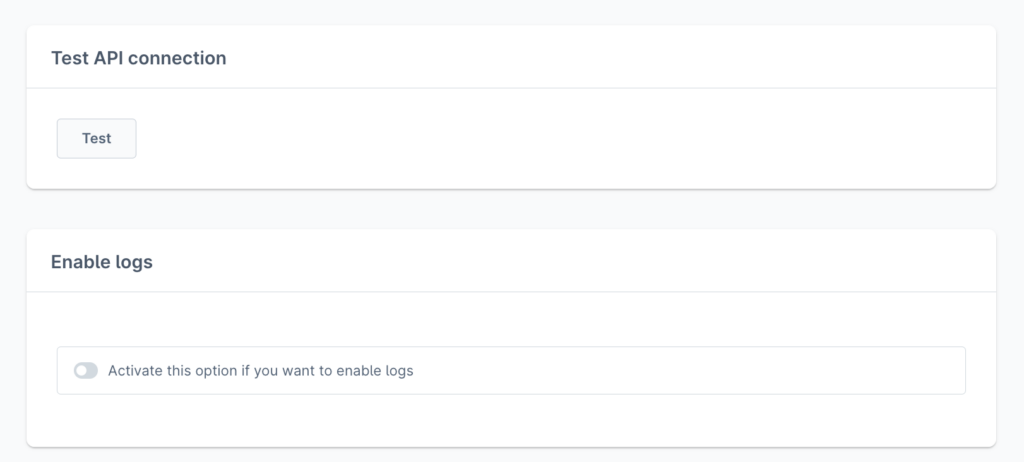
Enable logs
Select "Yes" (or switch the toggle depending on your Shopware store version) during configuration. If this setting is enabled, different levels of information will be saved in a custom log file, for example, details on errors.
It is strongly recommended to enable logs for troubleshooting purposes.
Test API Connection
You can test the API Connection to Volt based on the credentials pasted. This will allow you to check if the credentials are successfully authenticating to Volt API. This step is optional.
How is this guide?
Last updated on